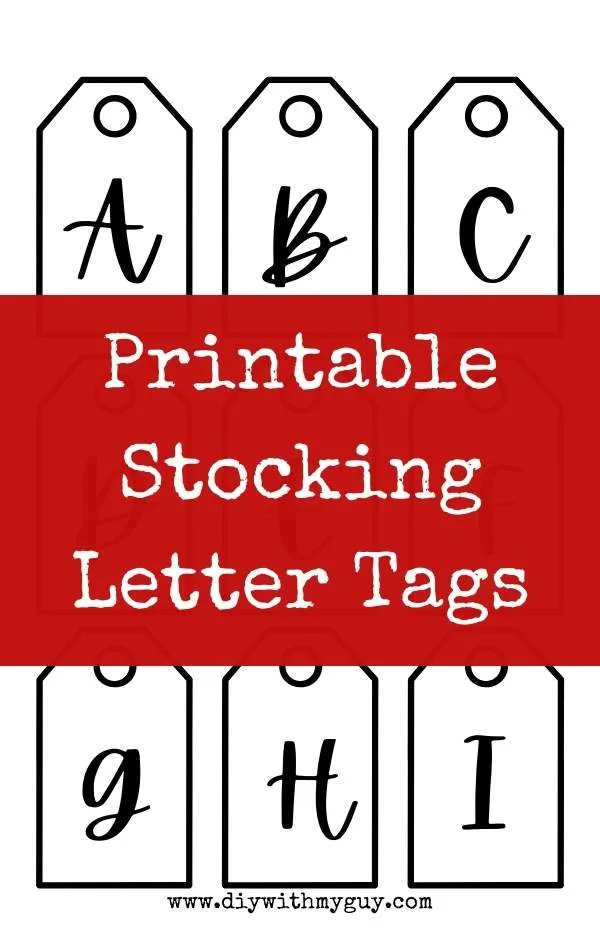
FREE printable DIY initial stocking tags for a simple way to dress up your Christmas stockings on a budget!
Easily add personalization and style with these DIY Stocking Letter Tags!
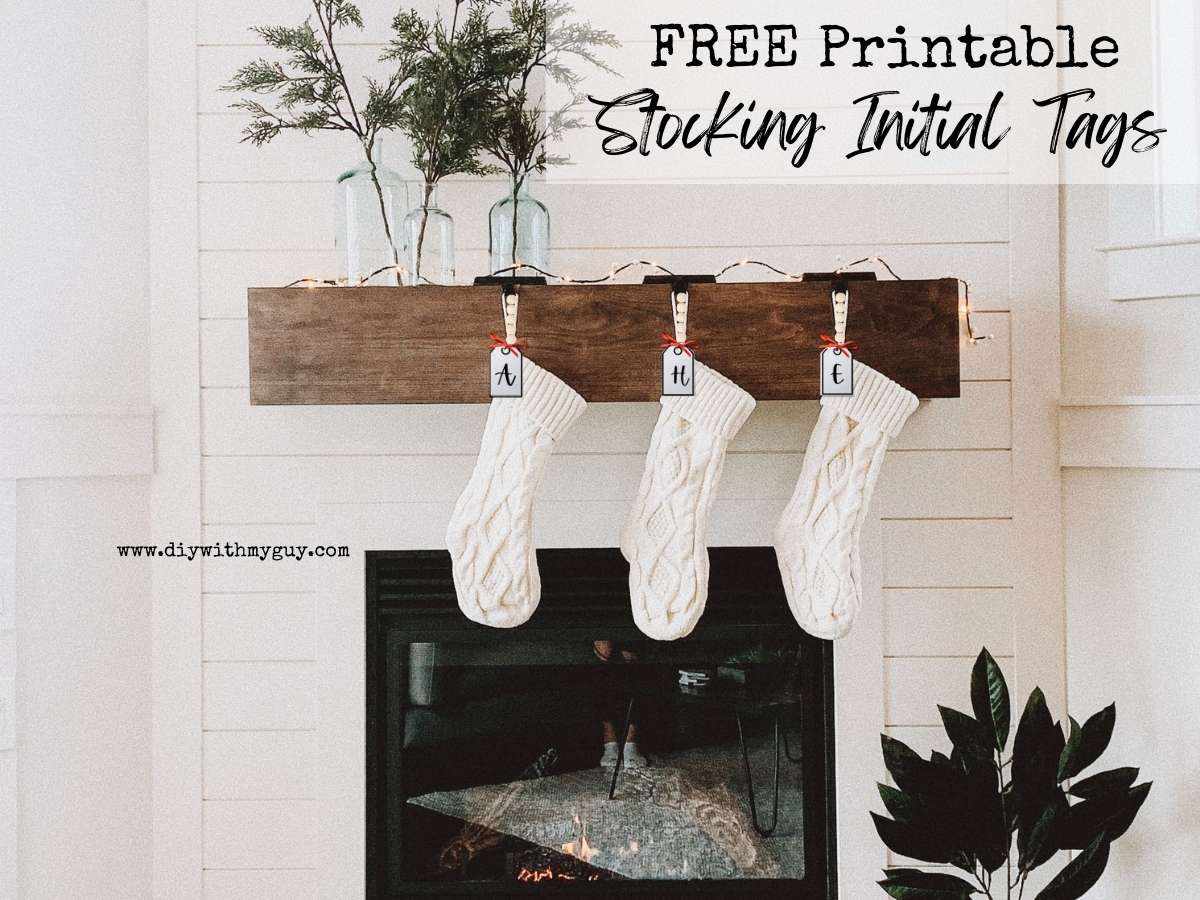

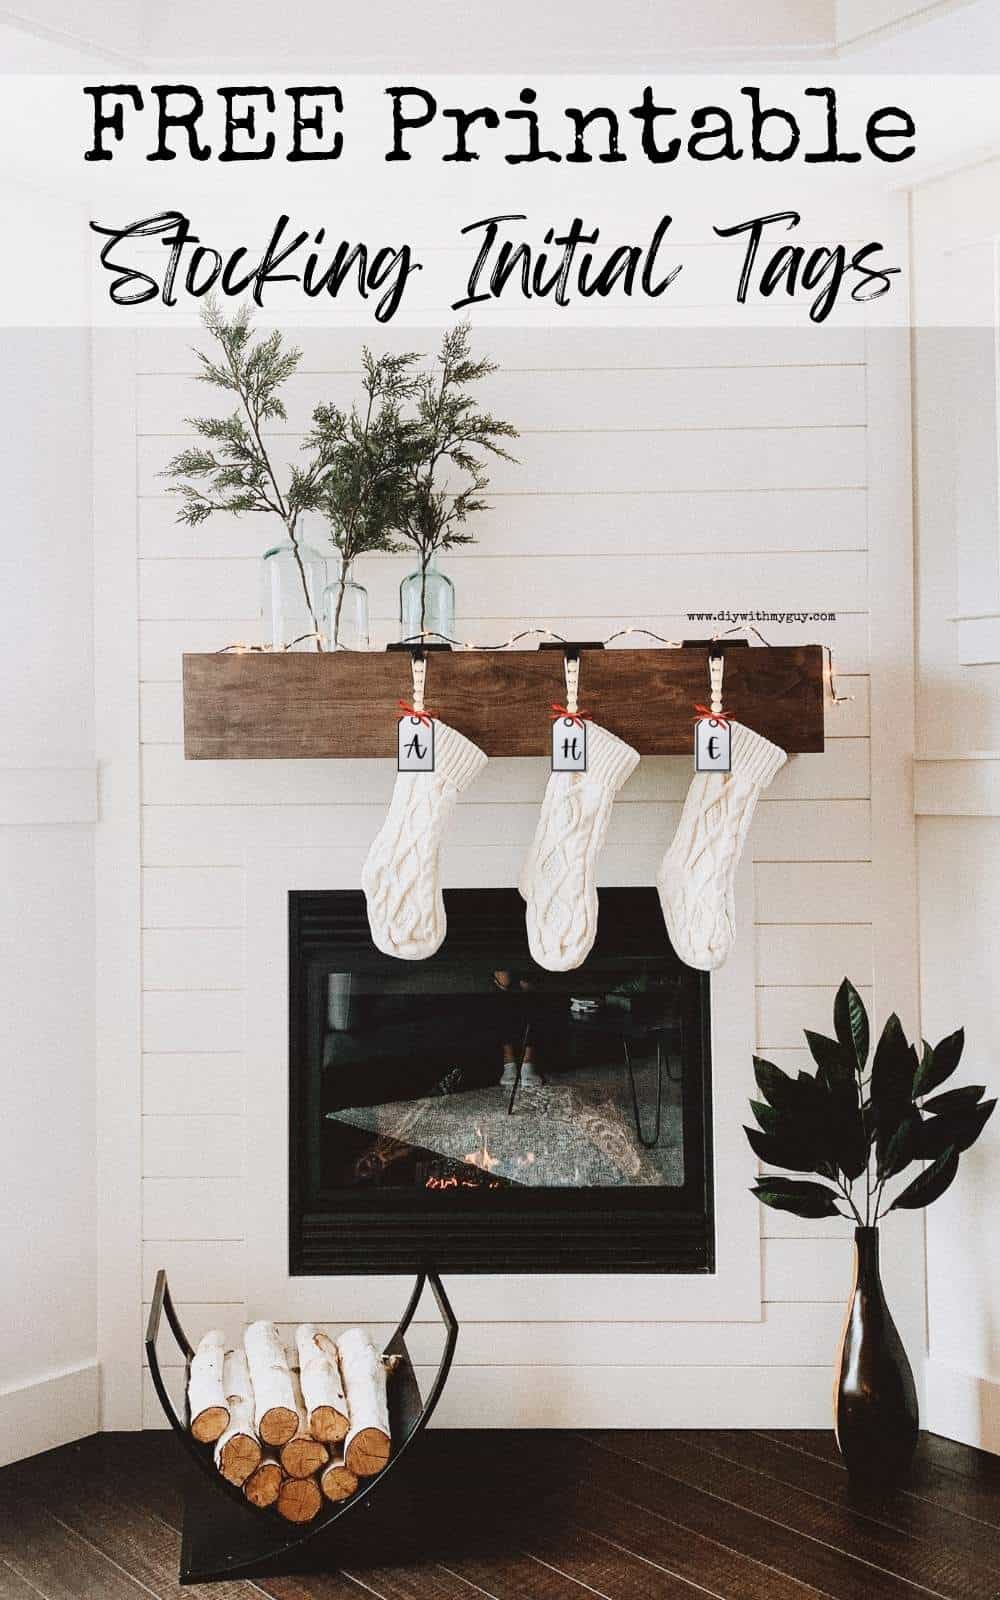
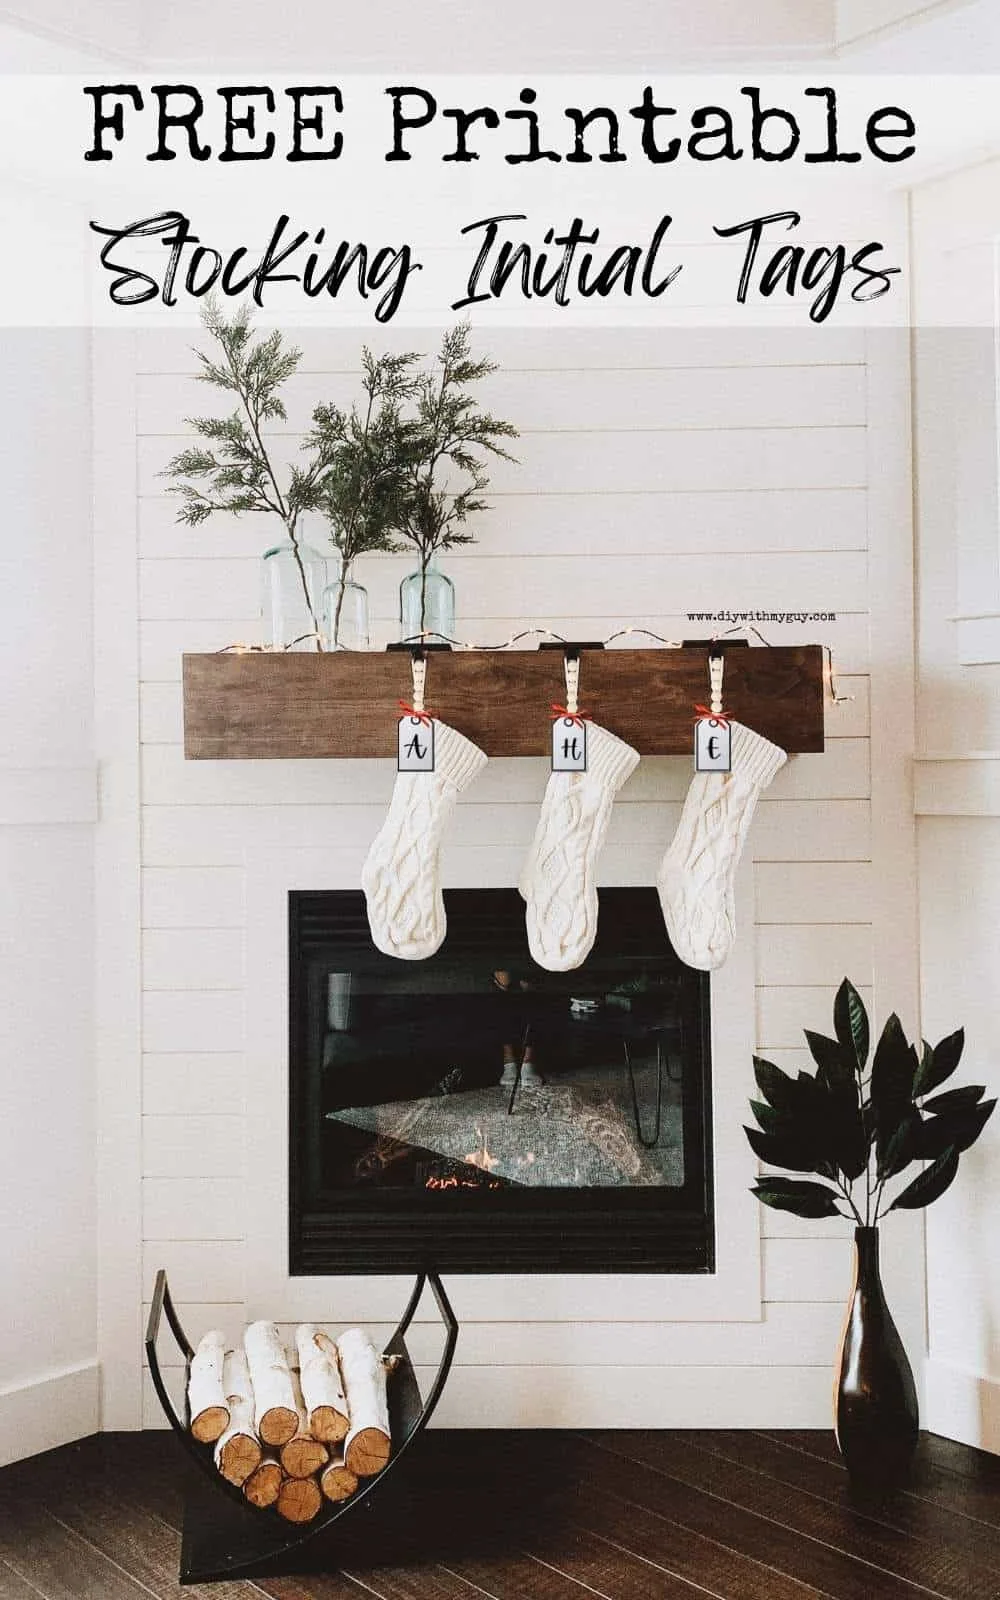
Over the years, we have collected our share of Christmas stockings.
From cartoon character stockings that my kids just had to have, to old family heirloom stockings that just aren’t holding up that well.
This year, I wanted to finally have matching personalized stockings.
When I first started browsing for personalized stockings I found some beautiful knitted Christmas stockings that I loved.
They were white and cream knitted with personalized names embroidered.
After searching some more, I found some cute stocking name tags.
Then after browsing some more, I was set on initial stockings!
DIY Initial Stocking Tags
After calculating the costs and shipping times I decided to make my own Christmas stocking tags.
If you follow me, you know that I love to make printable decor!
So this Christmas, instead of making stocking name tags with a Cricut, I decided to take the easy route and make printable letter tags.
I ordered these knitted white cream stockings and made some DIY printable stocking name tags.
Printable Christmas letter stockings are such a simple budget-friendly addition that makes a beautiful focal point.
Now, of course, I added natural wooden beads, because I love to use them.
In the past, I have used natural wooden beads to make pumpkins and shooting star Christmas ornaments.
They add such a natural look to your Christmas decor.
Printable Stocking Initial Tags
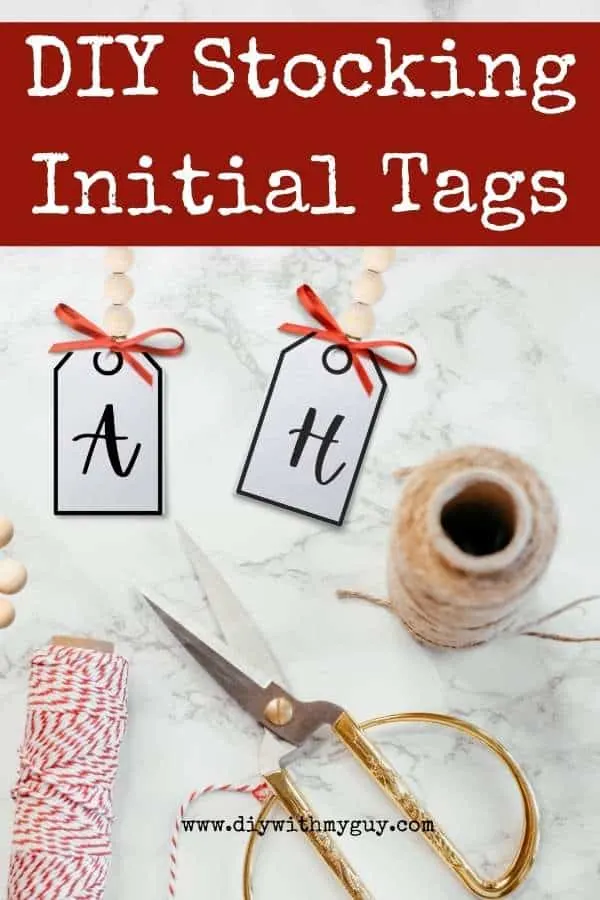
Supplies Needed:
- Printable stocking initial tags (found in our FREE Resource Library)
- Cardstock
- Twine
- Red Ribbon
- Natural wood beads (20mm)
- Scissors
- Hole punch

Instructions:
- Download the FREE printable stocking tags
- Print the stocking initial tags on cardstock.
- Cut out the letter tags of your choice.
- Use the hole punch to punch out the outlined hole in the top of the stocking tag.
- Cut 10 inches of twine for each tag.
- Loop the twine through the hole in the stocking tag.
- Add 4-5 beads to the twine, making sure to stick both sides of the twine in the wooded bead holes.
- Tie a knot at the top of the last wooden bead.
- Use the leftover twine above the wooded beads to make a small loop on the top and cut off any leftover strings.
- Use a small red ribbon to make a small bow at the hole of the tag.

DIY Stocking Letter Tags
If you are searching for how to label stockings, these printable stocking initial tags are simple and FREE!
I am so excited that we have beautiful matching white Christmas stockings with letters.
These tags can easily be reused and they blend in well with my neutral Christmas decor.
You can download these FREE printable stocking tags from our FREE Resource Library.
Sign up here and within minutes you will receive an email with the password.
Don’t forget to grab your FREE Christmas Planning Printables before you go!